


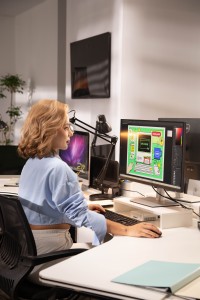

If you create video or audio content on a regular basis, having a home studio will bring professionalism and sophistication to your work, allowing you to take the quality of your content to the next level.
However, setting up a home studio can be an extremely challenging project for newcomers. There are way too many things to consider, and it’s difficult to know where to start.
Fortunately, we’re here to streamline the process for you with a list of essential equipment to create a home studio cost-effectively.
Step 1: Pick a room.
The size of your home studio depends entirely on what you use it for. If you are a tech reviewer who shoots all the raw video footage in the studio, then you may need a relatively large room to accommodate the cameras, tripods, and lighting. But if you are a travelling vlogger who only uses the studio for editing and sound recording, a small spare room or a bedroom will suffice.
When it comes to recording sounds, a quiet room with very few windows will be the most ideal. You don’t want to be constantly interrupted by noises from your neighbors or your family members while adding narration to a review video. If there’s enough budget, you can go a step further by giving your room some acoustic treatment. Sticking acoustic foam sound absorbers to the walls, adding curtains to your windows, or covering your floor with a carpet will effectively reduce echoes.
Step 2: Build a PC.
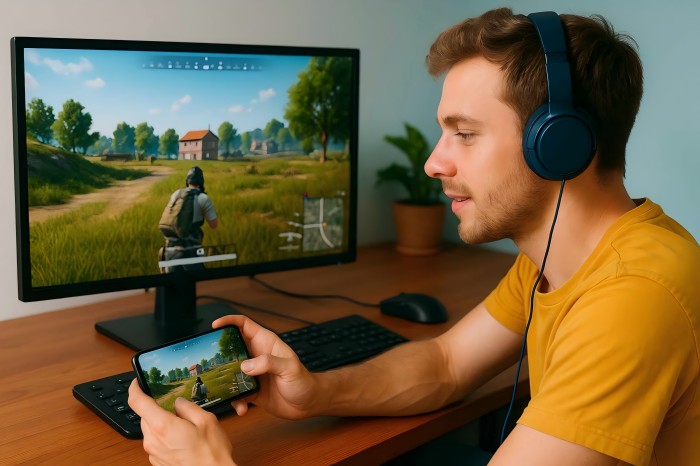
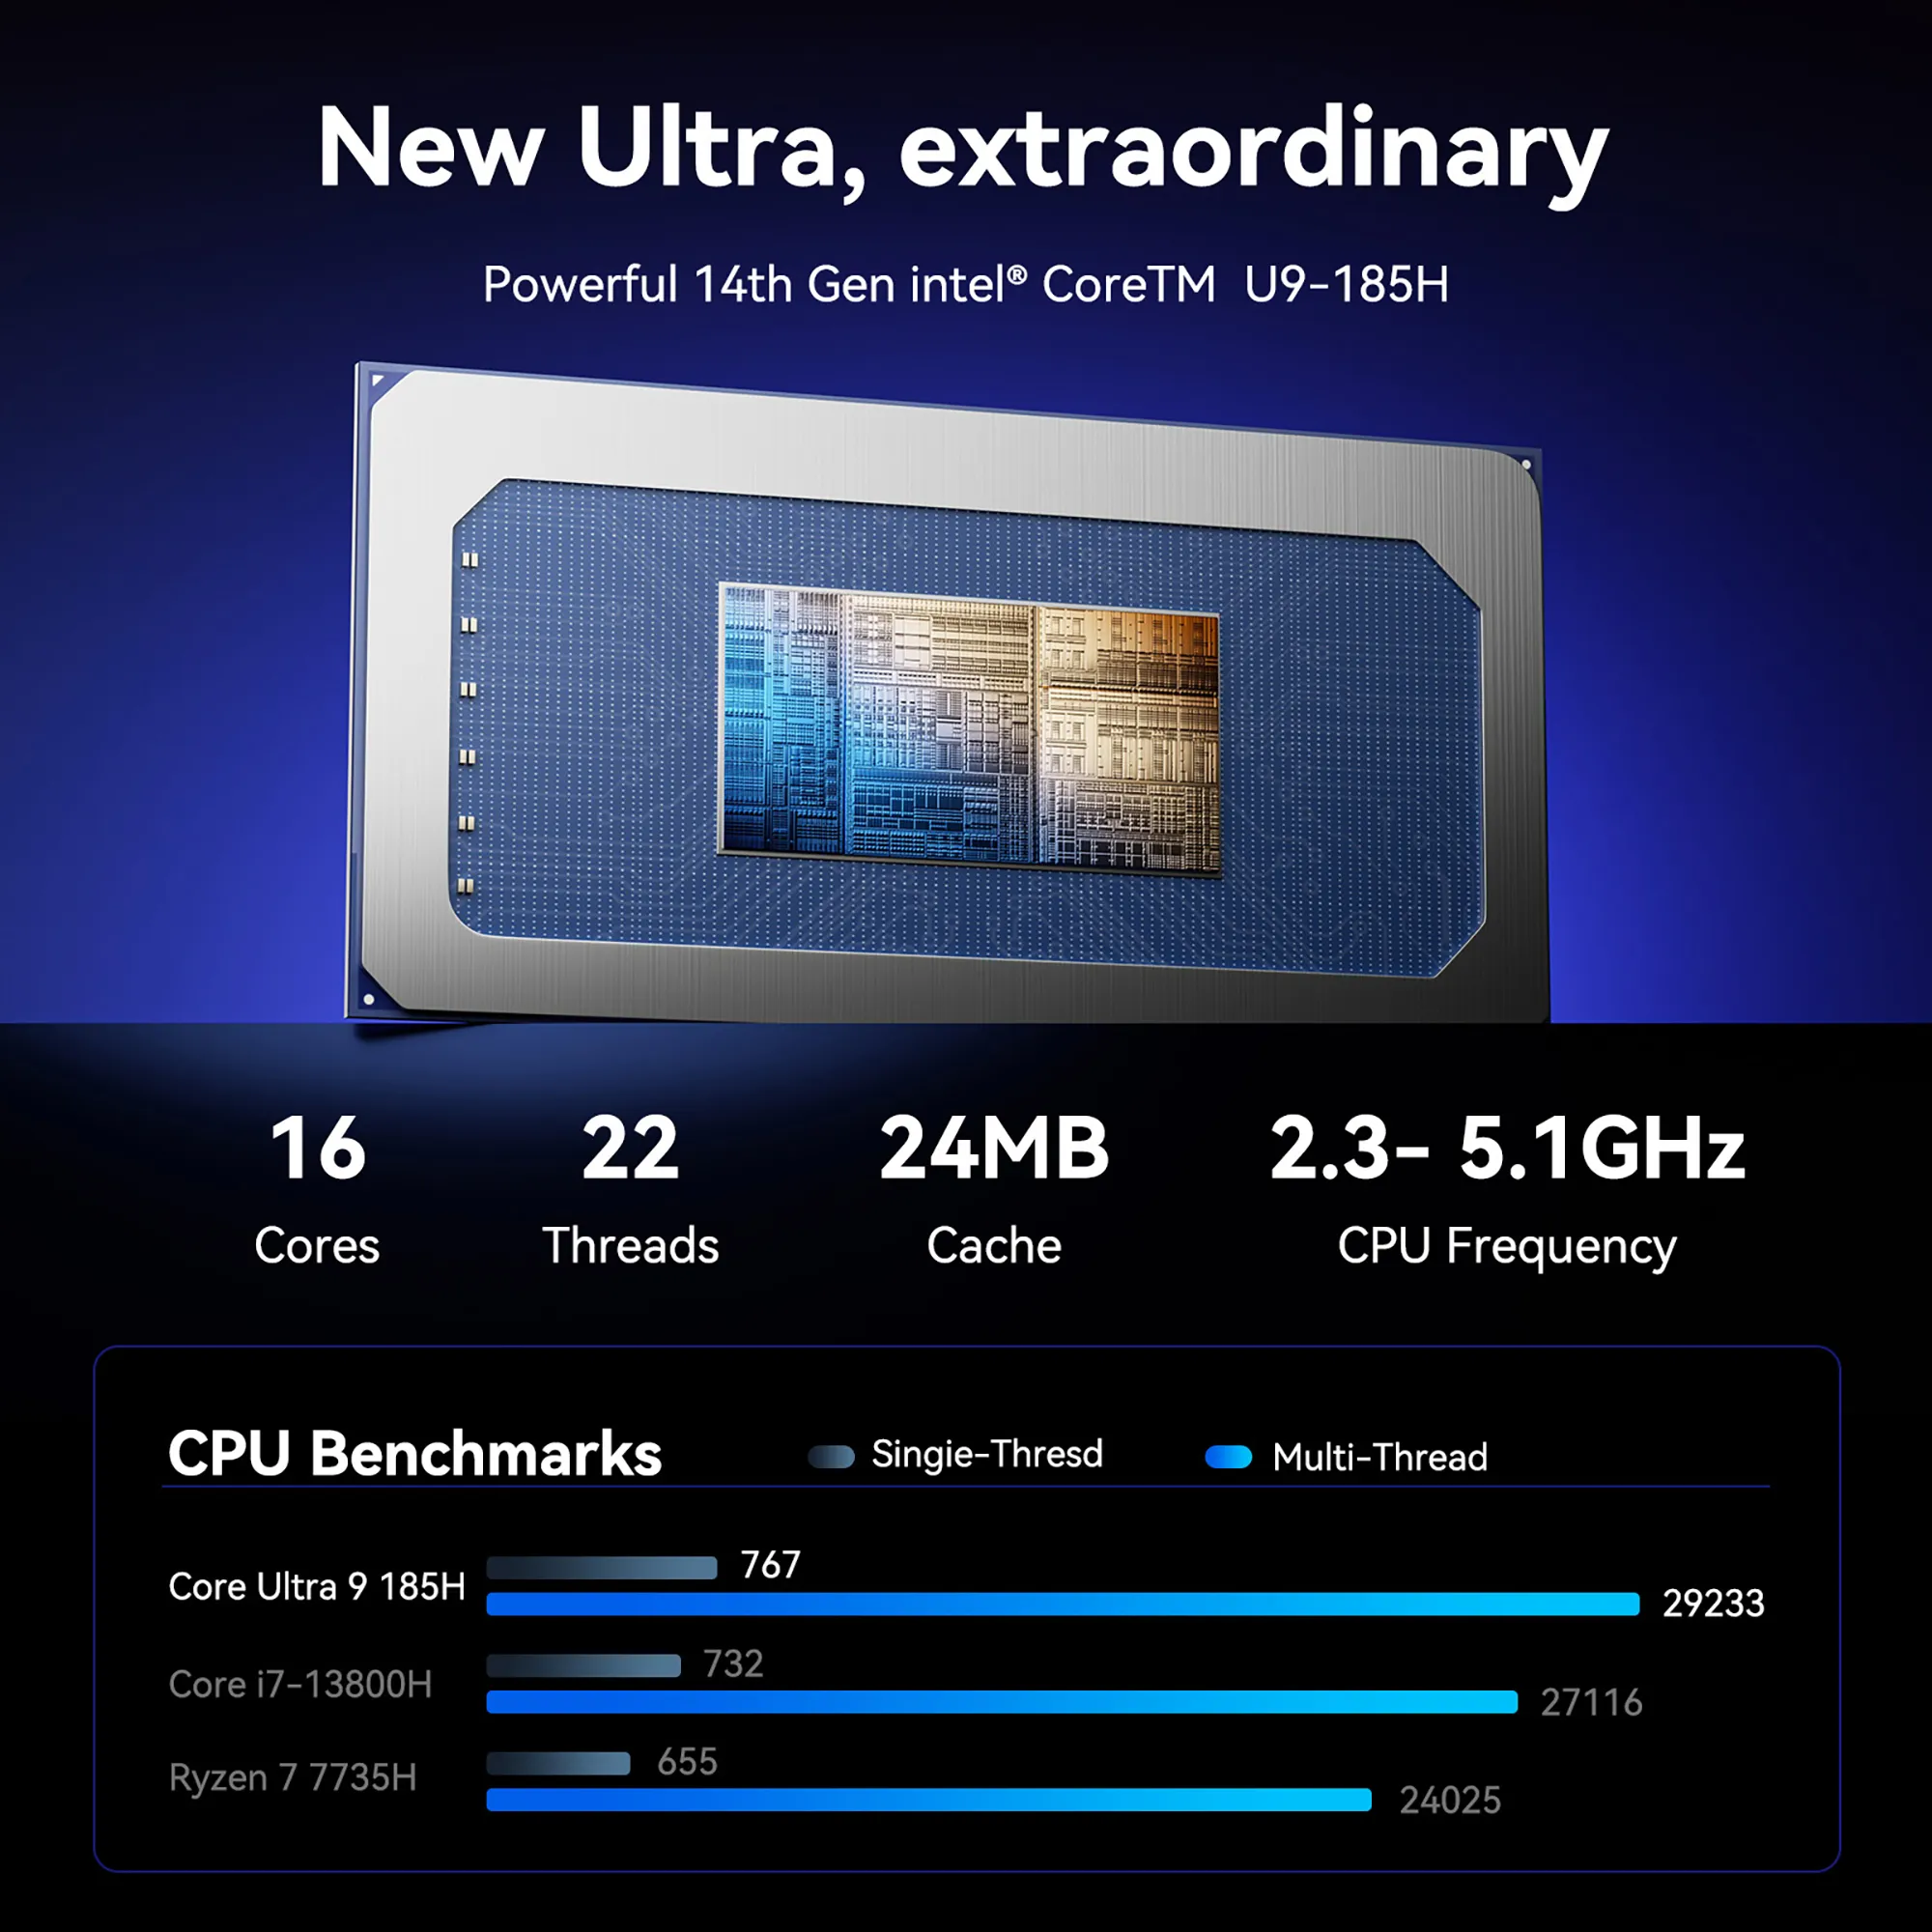
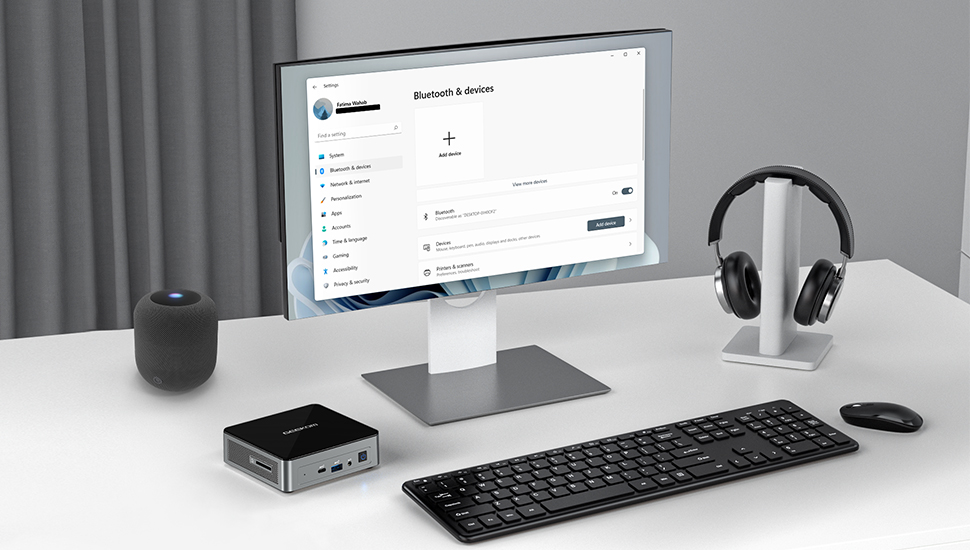
A computer serves as the brain of a home studio, so you will want it to be fast and reliable. While building your PC can help you get maximum performance for minimal spending, putting together a complex system like a PC can be a challenging project for many. Fortunately, most modern laptops and mini PCs have enough horsepower to drive an average home studio.
The minimum specs we recommend for a home studio PC are:
CPU: Intel Tiger Lake Core i5-1135G7 processor / AMD Ryzen 5-3500U
GPU: Iris Xe Graphics / AMD Radeon Vega 6
RAM: 8GB
Storage: 512GB SSD
While the latest integrated GPUs can deal with basic video editing, if your content demands more complex digital visual effects, you should consider getting a high-end discrete graphics card for your PC.
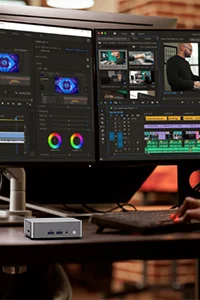
For people constantly travelling, a laptop is undoubtedly the best solution as it allows you to edit your content on the go. However, many video content creators prefer working with 3 or 4 screens. This allows them to edit the footage, work with the timeline, read the script and see the preview at the same time, which an average laptop can’t provide.
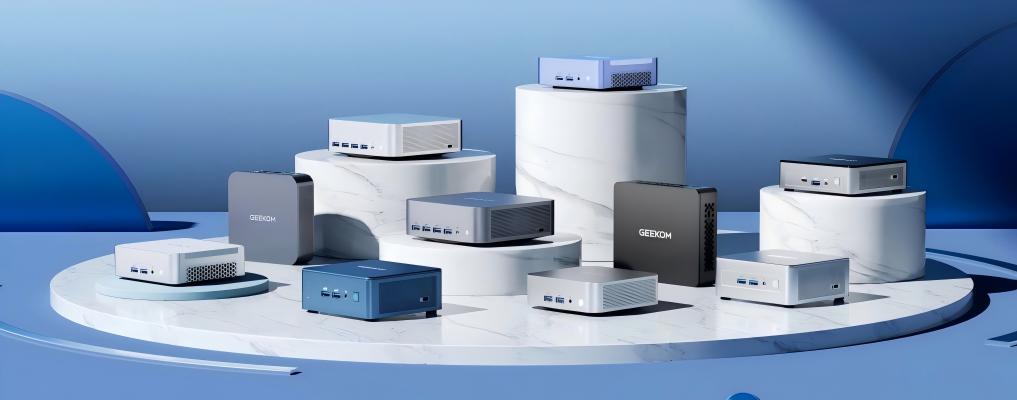
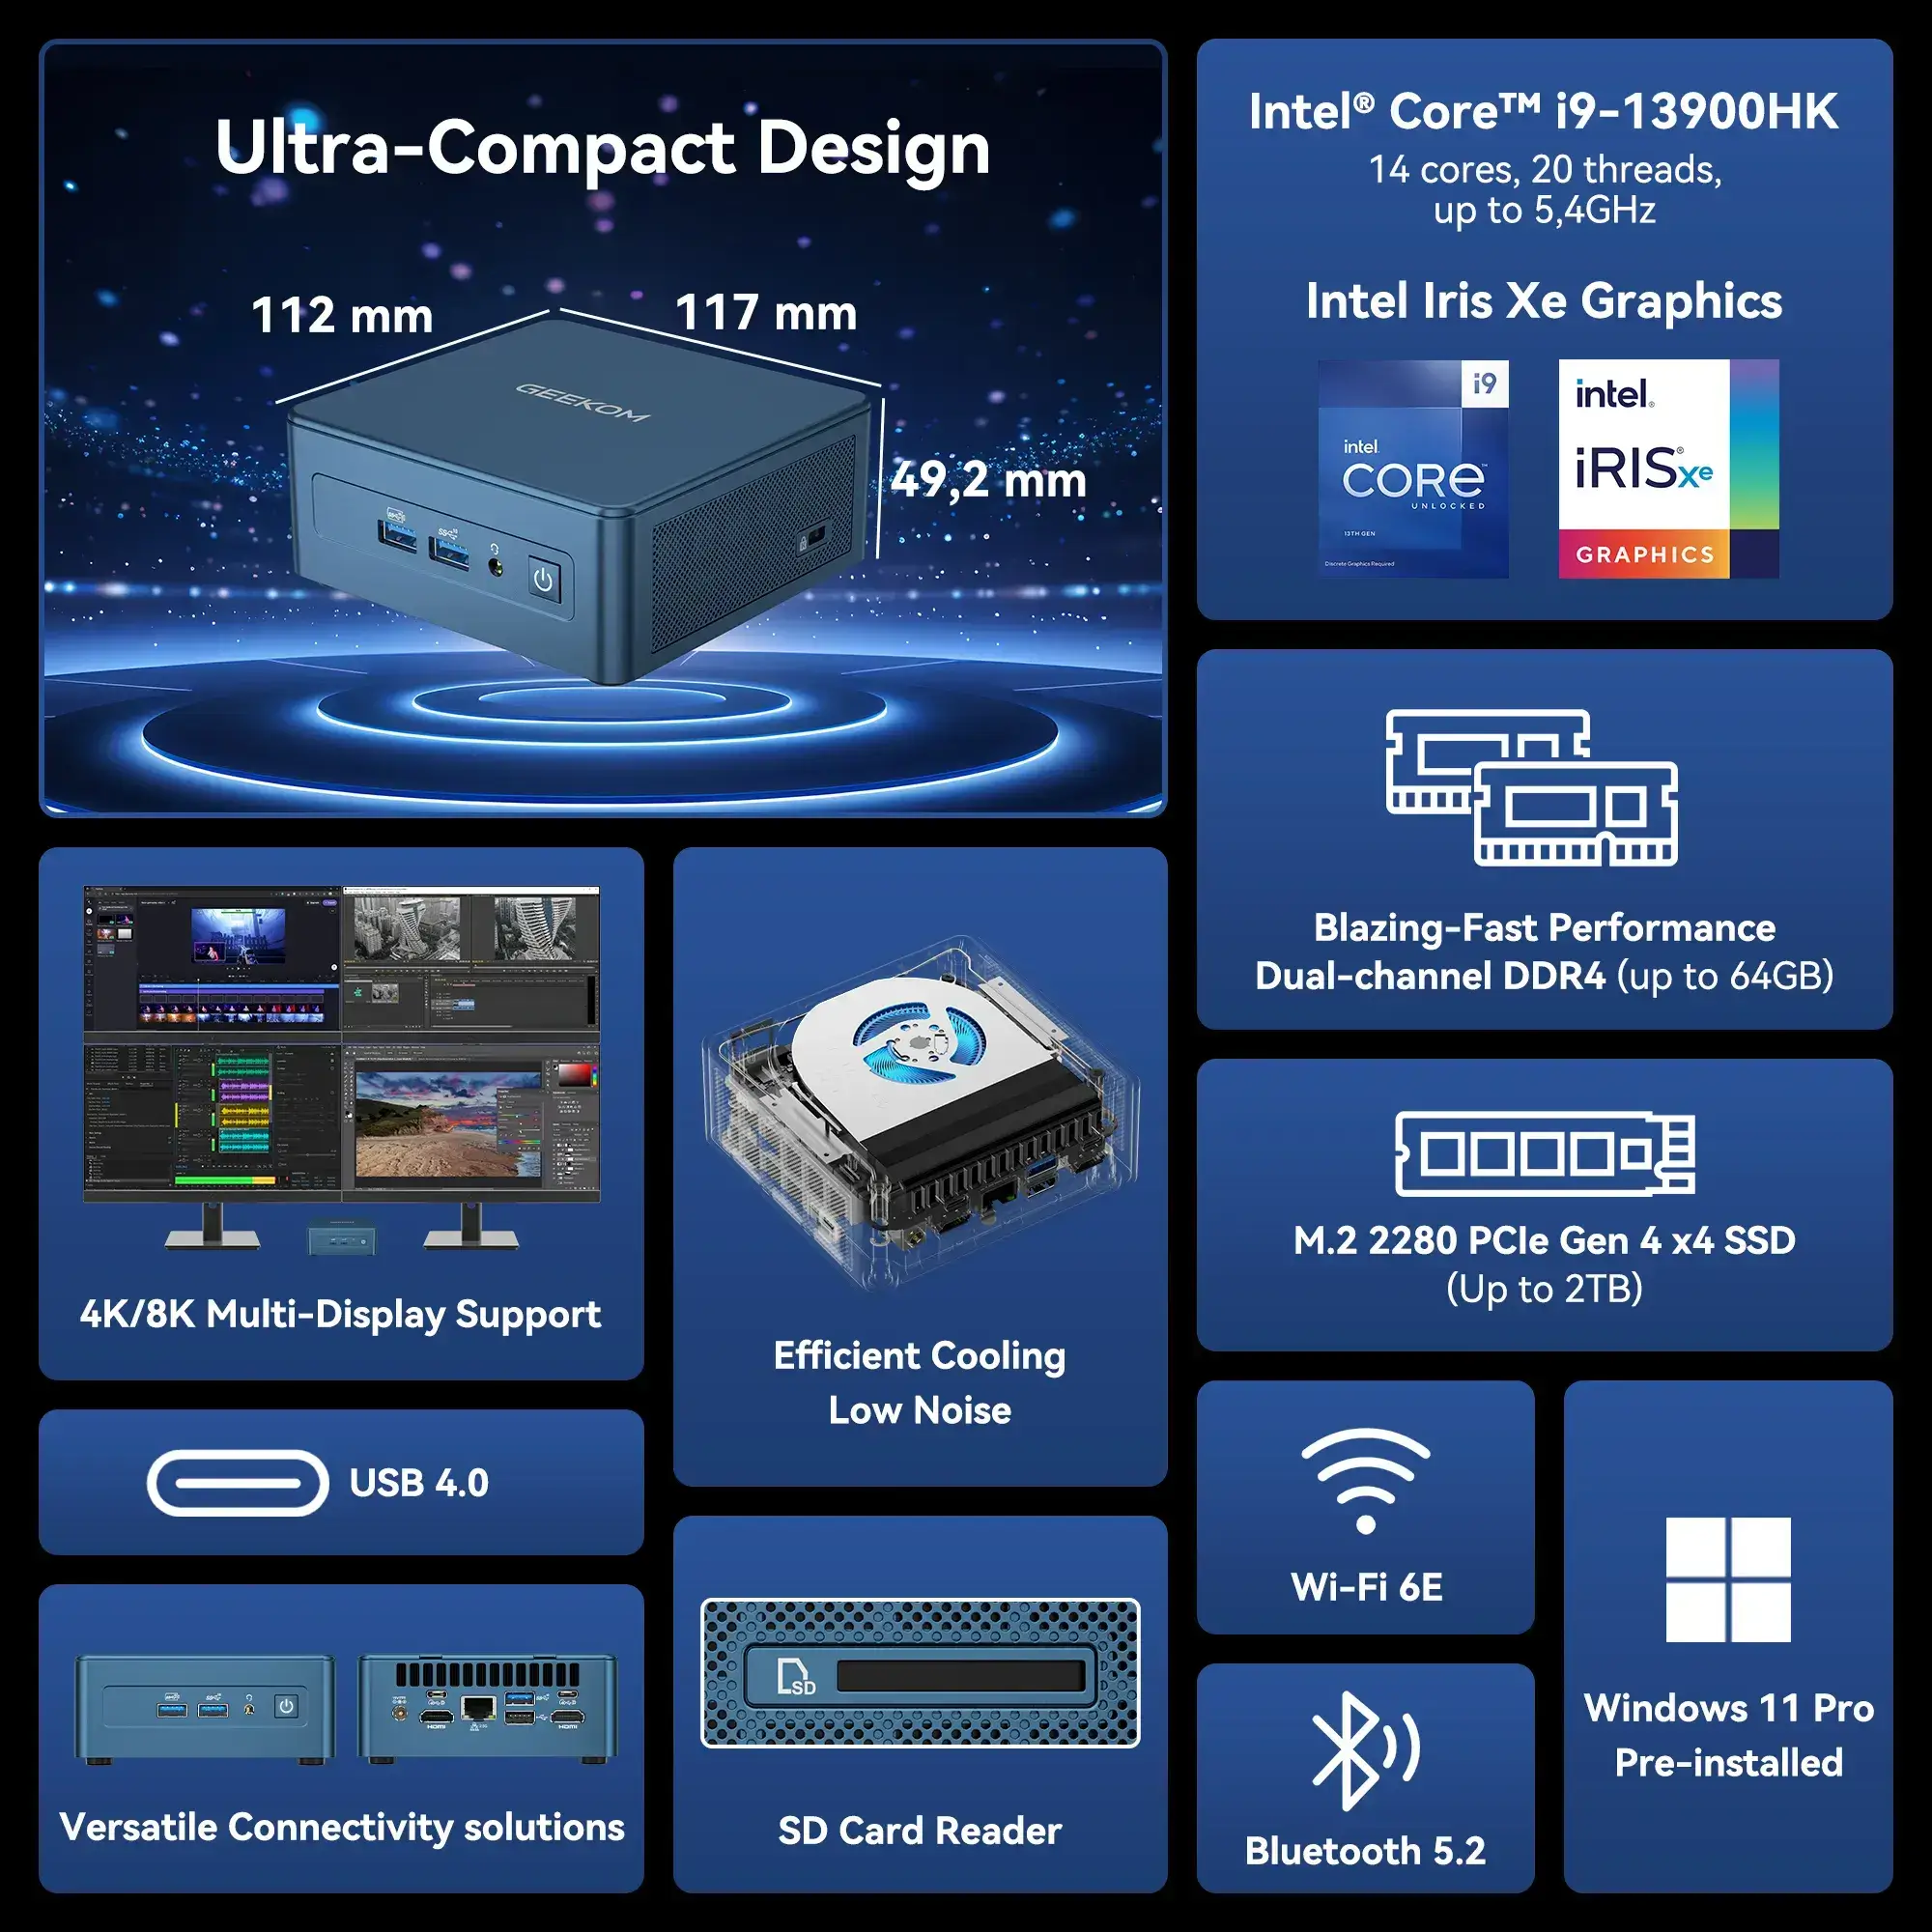
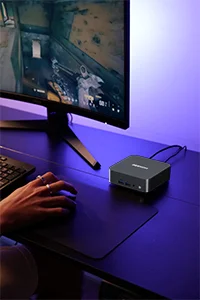
If you don’t travel that often, a mini PC will be more convenient for you, as it often features more video connectors, and its RAM and storage can be easily upgraded. For those with two or more studios, a mini PC can offer you the portability of a laptop, without sacrificing connectivity and performance.
For instance, the GEEKOM Mini IT11 is powered by a beefy Intel Core i7-1195G7 processor and features 4 video connectors (two USB4 ports, one Mini DisplayPort 1.4, and one HDMI 2.0). It can drive three 8K displays and one 4K display simultaneously, making it a great choice for home studios with a quad-monitor setup.
Step 3: Get the other equipment.
With a capable PC in place, you can now consider adding other pieces of kits to your home studio. Regardless of what kind of content you plan on creating, you will need the following equipment:
- Displays
As we mentioned earlier in this article, having multiple screens in a home studio will effectively accelerate your editing process, but not everyone can afford a triple or quad-monitor setup. If your budget only allows you to buy one or two displays, we’d recommend that you get a large ultra-wide monitor. The 21:9 aspect ratio will give you more horizontal space to work with, allowing you to have two or more full-size windows open for better multitasking.
- Microphone
A microphone is the main audio-capturing device in a studio, and its performance will directly affect the quality of your content. There are several types of microphones in the market, each is best suited for different recording purposes.
But for home recording studio set-up, condenser microphones are generally the better options because they are incredibly responsive and pick up even minor vocal nuances, and the audios they capture are of higher quality. Condenser microphones are typically more expensive than dynamic microphones, but you can find some affordable ones with decent specifications. For instance, the Creative Live!
- DAWs
If your work involves a lot of sound mixing, you may also want to use a DAW (digital audio workstation), which is a piece of electronic software for recording, editing, and producing professional audio content. While premium DAWs may cost you quite a fortune, budget alternatives such as Audacity and FL Studio are available.
- Headphones & amplifiers
There has been a constant debate on using monitor speakers or headphones for audio playback in a home studio. We recommend closed-back headphones because they offer perfect isolation, preventing the playback sound from bleeding into the recordings. Most studio headphones have relatively high impedance and low sensitivity, you may need amplifiers to drive them to deliver the performance they are designed for.
- Keyboard and mouse
When recording sounds in a home studio, you want the peripherals to make as little noise as possible. Fortunately, there are many silent keyboards and mice to choose from nowadays, and many of them are not that expensive.
Step 4: Decorate your studio.
If you only create audio content, you can skip this step. But if you are a YouTube influencer showing yourself and your home studio on camera, having an identifiable background will give your content a touch of professionalism and help you develop your brand.
The background of your studio can be as simple as a white wall and a bookshelf, or as complex as a ton of RGB lighting and countless gadgets. The important thing is to choose items, colors, and furniture that are in line with your brand, or the story you are trying to tell.
Verdict
If you want to create professional content, setting up a home studio will be extremely rewarding. Hopefully, this article has provided you with the information you need to get started. Thanks for reading, and good luck!