The modern world is characterized by rapid digitization. In such a scenario, individual users and organizations should take proactive measures to strengthen the security of their networks. Embracing firewalls like pfSense can be a smart move to set up a line of defence against cyber attacks.
Traditional firewalls are associated with bulky and expensive hardware. But modern software firewall solutions like pfSense offer flexibility and convenience. They are supported on diverse hardware configurations, including mini PCs.
Due to their compact nature and high processing power, mini PCs are becoming a major use case for the pfSense firewall. Whether it’s your home or business network, these small devices can keep your security concerns at bay by incorporating the software firewall system. Let’s get into this article to gather more details about the effectiveness of pfSense for mini PCs.
What is pfSense?
Before discussing its application on mini PCs, let’s begin with an understanding of this software firewall system. So, what is pfSense? It can be described as a strong open-source and router-based firewall running on FreeBSD.
Apart from multiple security features, pfSense impresses users with customization options. Both beginners and experienced network administrators will benefit from using the pfSense router firewall. Networks of different sizes prefer this adaptable solution.
Why are Mini PCs Suitable for pfSense?
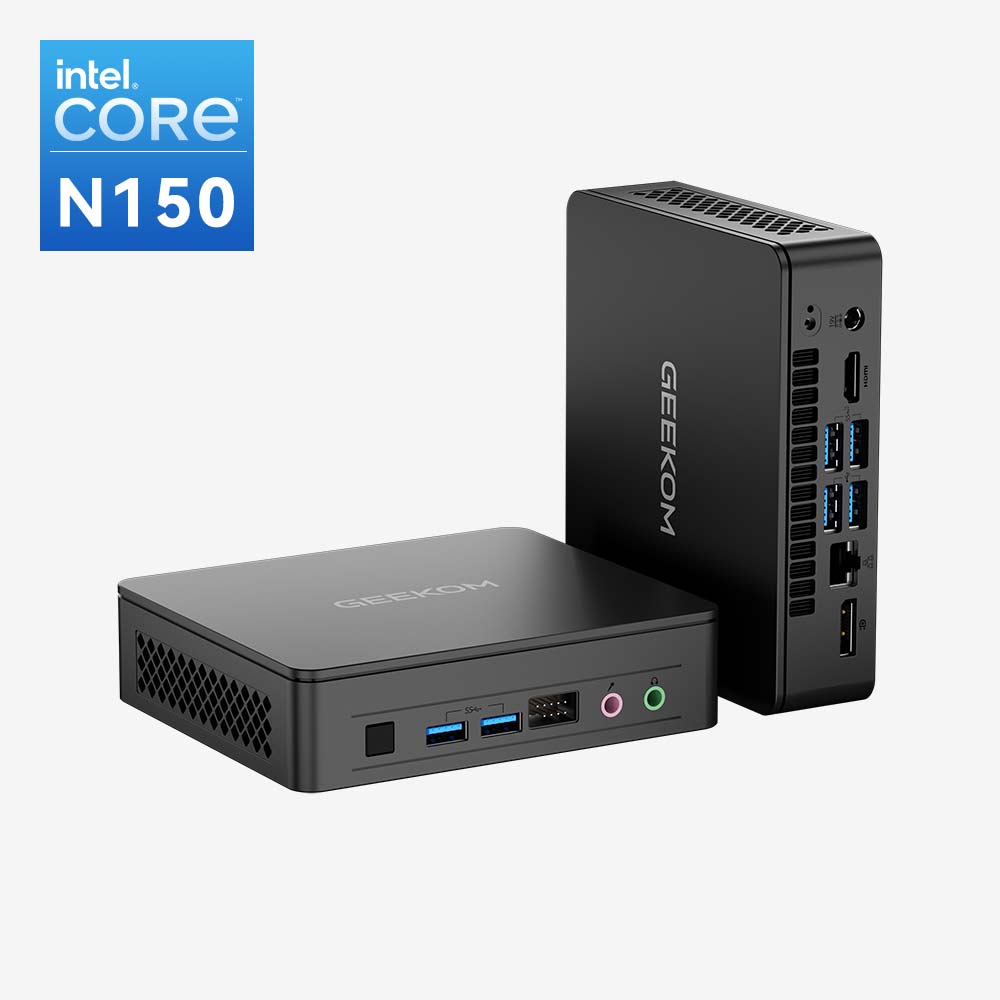
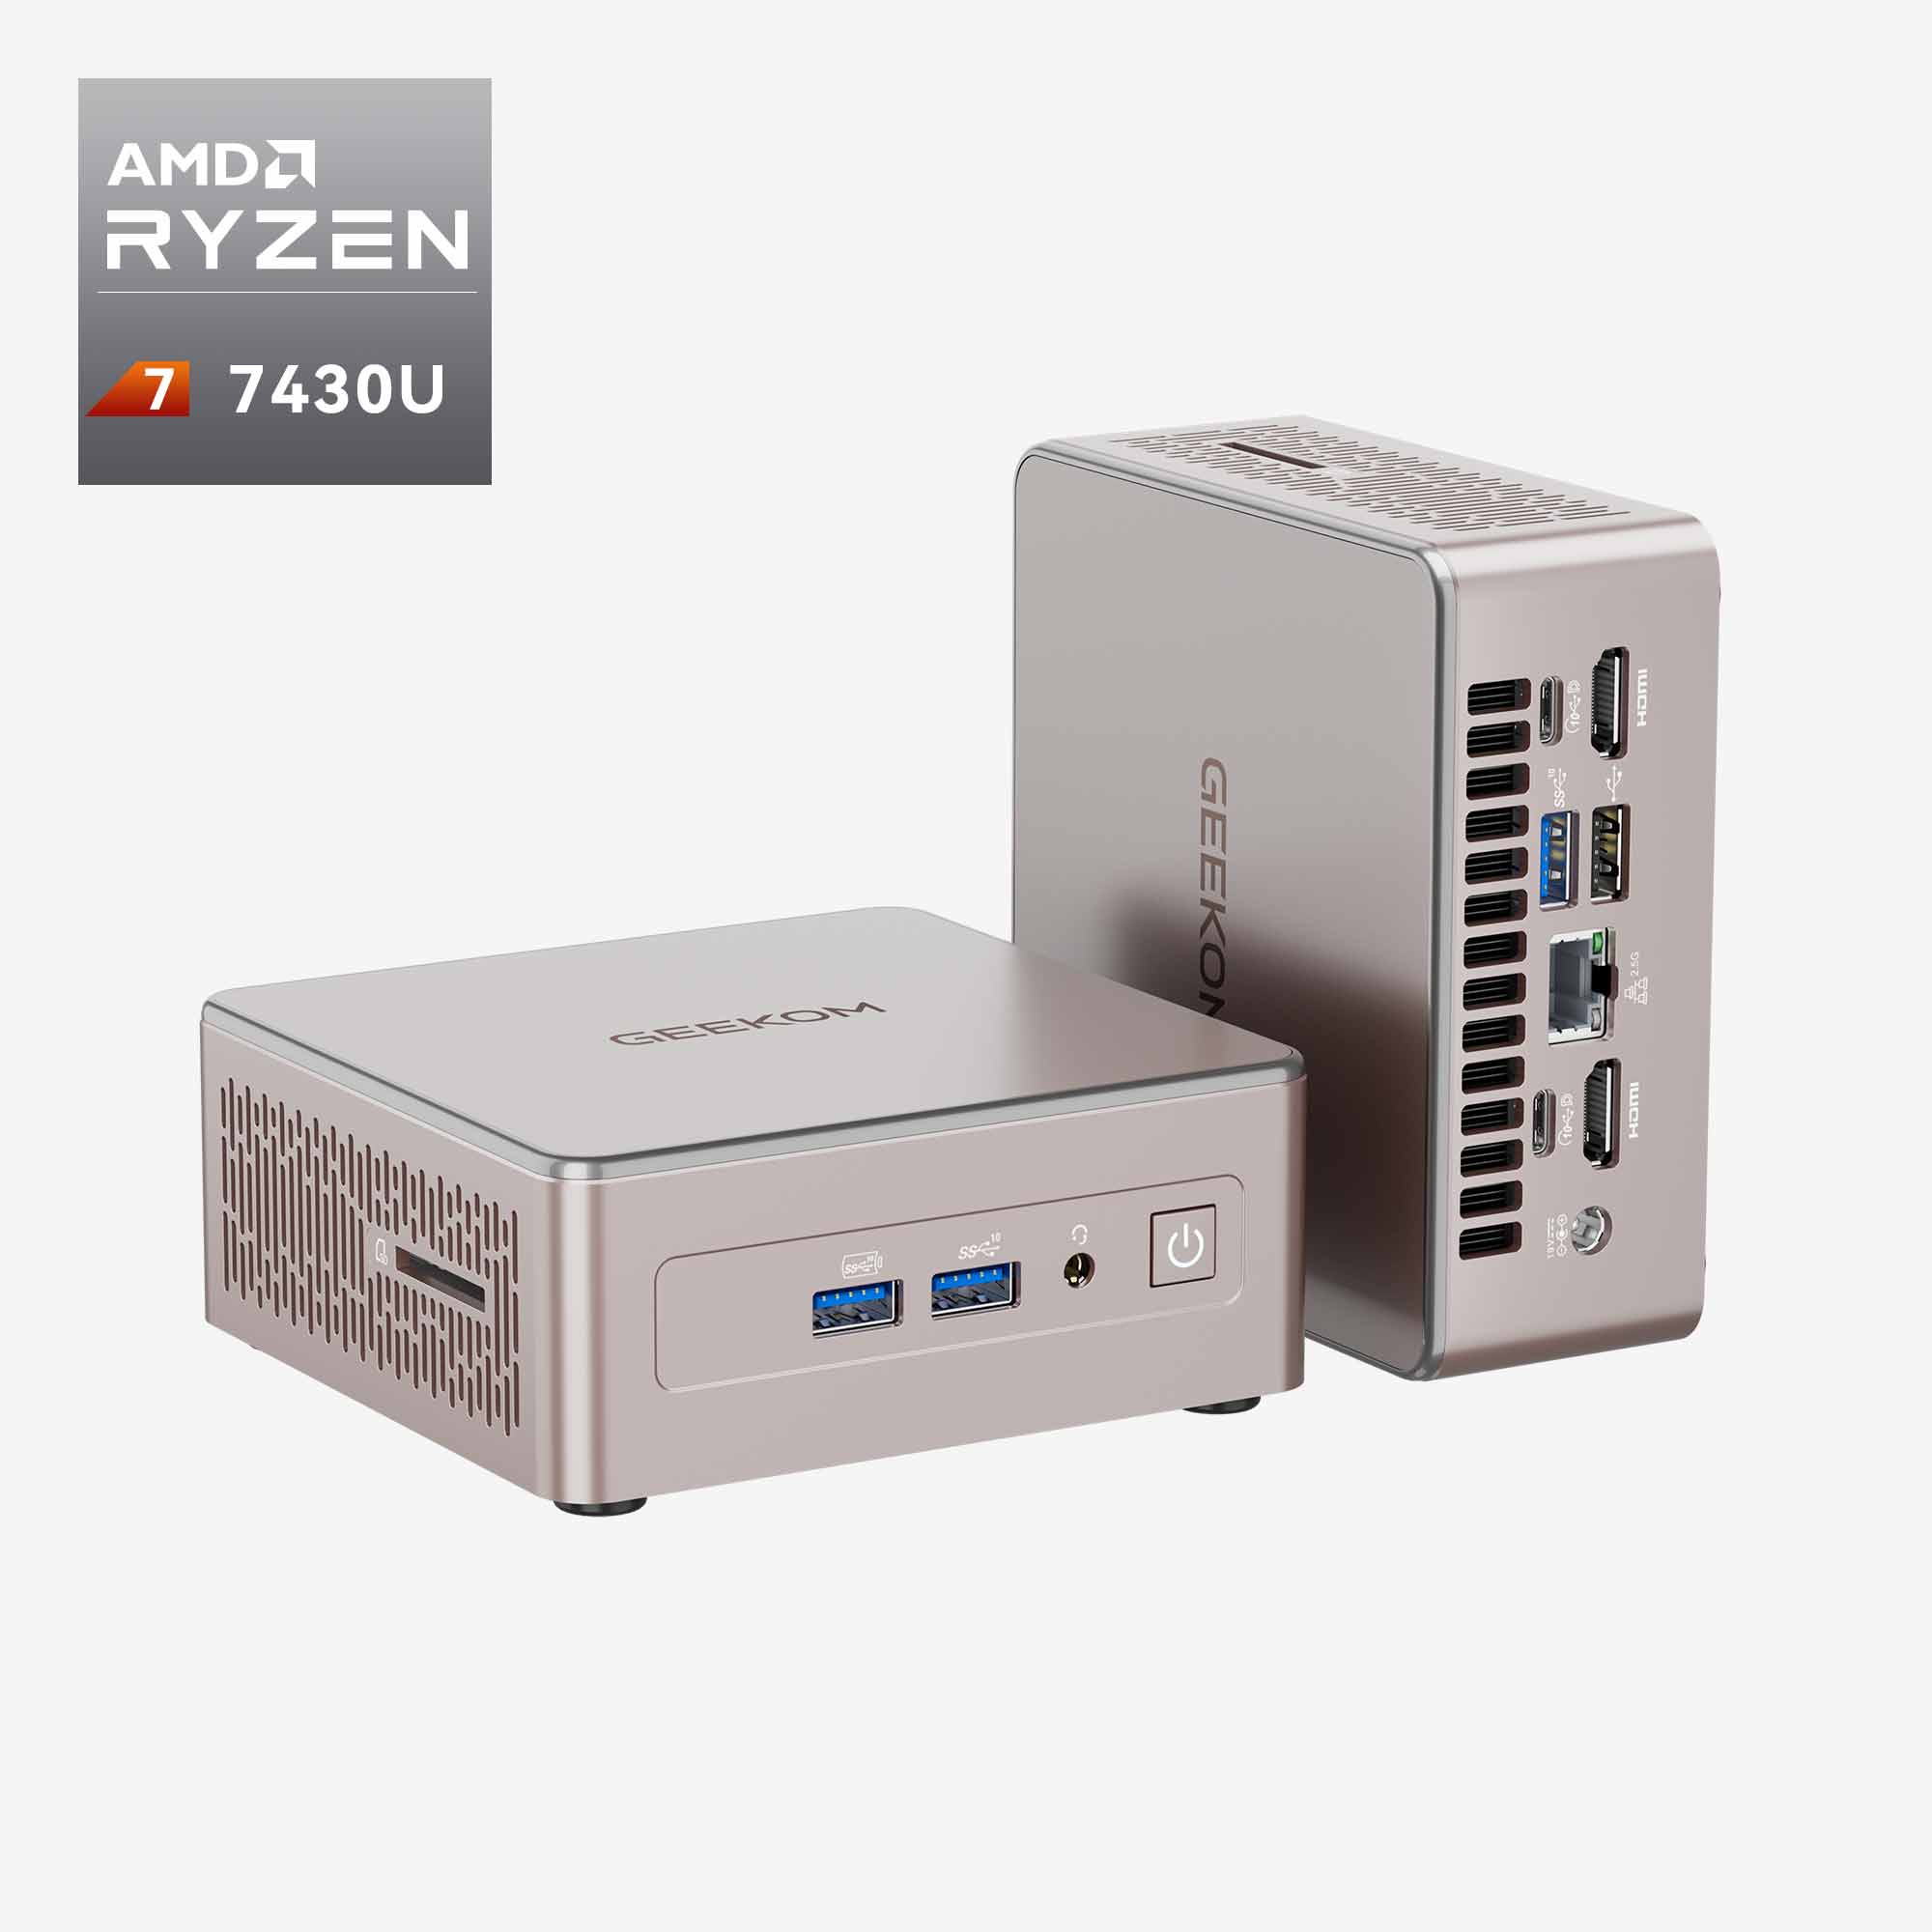
pfSense does not have strict hardware requirements. So, it can be made to run on various configurations. However, mini PCs remain a top choice among many network administrators. Find out why below:
Compact Form
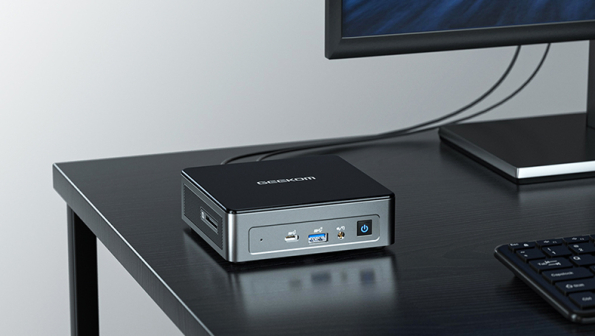
The small size is the biggest advantage. Unlike traditional firewall hardware, they don’t occupy a lot of space. They can placed anywhere from a corner in the home office to an IT closet.
Low Power Consumption
Energy efficiency remains one of the prime attributes of minicomputers. They consume a lot less power than full-sized PCs. Therefore, you can keep them on for a long time to run pfSense without worrying about rising electricity bills. Mini PCs are apt for networks that need to be protected 24*7 using the powerful security features of pfSense.
Effective Performance for Networking Tasks
Despite their small size, mini PCs won’t compromise on performance. They often come with efficient processors, ample SSD storage, and RAM. So they can easily fulfil the demands of a firewall network. In several home and small business networks, mini PCs with the pfSense firewall system deliver impeccable performance while maintaining advanced features like intrusion management systems, traffic shaping, and VPNs.
Cost-Effective Security Solutions
Building a firewall system by installing pfSense on mini PCs is a budget-friendly solution. Traditional firewall hardware can be quite expensive. Even for basic network security, the price tag can be hefty. But mini PCs will help you save a lot. You will have the perfect hardware to run a firewall system for personal and professional networks.
Fanless Operation with No Noise
You might have to keep your mini PC on all day to run the pfSense firewall system. Since they come with quiet cooling features, the annoying noise of the fan won’t disturb you. It is ideal for home environments and offices where a sound-proof environment might be necessary for smooth operations.
Key Considerations to Find the Right Mini PC for pfSense
Finding the most appropriate mini PC for pfSense requires careful consideration. You will have to ensure that the system can meet the hardware requirements of the pfSense router. Here’s what you should be considering:
Processor Power
The mini PC’s CPU should be compatible with pfSense applications. Low-power processors are good for basic networking tasks. However, advanced features like traffic shaping and VPN encryption demand high-power processing. If you run a pfSense router on your mini PC, look for multi-core processors. Try to settle for a system with Intel Core i5 or higher that can provide a fine mix of efficiency and power.
RAM and Storage
The pfSense firewall application is quite lightweight. In most cases, 4 to 8 GB of RAM will be sufficient. However, look for a mini PC with SSD storage of 128 GB or more instead of a conventional HDD. It guarantees high reliability, particularly for networks that need to be protected using a firewall 24*7.
Networking Capabilities
To use the pfSense firewall system, you should have multiple network interfaces for LAN and WAN connections. Mini PCs often feature a single Ethernet port. But it’s expandable using USB-to-Ethernet adapters. Otherwise, you can settle for mini PCs with dual Ethernet ports. A few models will also support WiFi, even though wired Ethernet is more reliable for a secure firewall configuration.
Expandability
A lot of mini PCs have fixed hardware configurations. But it’s better to choose the ones that allow you to upgrade components to run pfSense applications easily. It will ensure you can uphold its security with more processing power or storage as your home or organizational network grows.
Passive Cooling
Remember to check the cooling system of the mini PC if you plan on keeping it on all the time to run pfSense firewall applications. Passive cooling systems ensure quieter operation and greater reliability over the years. The fanless design also lowers the risk of mechanical failure with growing use.
Top Mini PCs for pfSense
Processor Power
The mini PC’s CPU should be compatible with pfSense applications. Low-power processors are good for basic networking tasks. However, advanced features like traffic shaping and VPN encryption demand high-power processing. If you run a pfSense router on your mini PC, look for multi-core processors. Try to settle for a system with Intel Core i5 or higher that can provide a fine mix of efficiency and power.
RAM and Storage
The pfSense firewall application is quite lightweight. In most cases, 4 to 8 GB of RAM will be sufficient. However, look for a mini PC with SSD storage of 128 GB or more instead of a conventional HDD. It guarantees high reliability, particularly for networks that need to be protected using a firewall 24*7.
Networking Capabilities
To use the pfSense firewall system, you should have multiple network interfaces for LAN and WAN connections. Mini PCs often feature a single Ethernet port. But it’s expandable using USB-to-Ethernet adapters. Otherwise, you can settle for mini PCs with dual Ethernet ports. A few models will also support WiFi, even though wired Ethernet is more reliable for a secure firewall configuration.
Expandability
A lot of mini PCs have fixed hardware configurations. But it’s better to choose the ones that allow you to upgrade components to run pfSense applications easily. It will ensure you can uphold its security with more processing power or storage as your home or organizational network grows.
Passive Cooling
Remember to check the cooling system of the mini PC if you plan on keeping it on all the time to run pfSense firewall applications. Passive cooling systems ensure quieter operation and greater reliability over the years. The fanless design also lowers the risk of mechanical failure with growing use.
Best Mini PC for pfSense
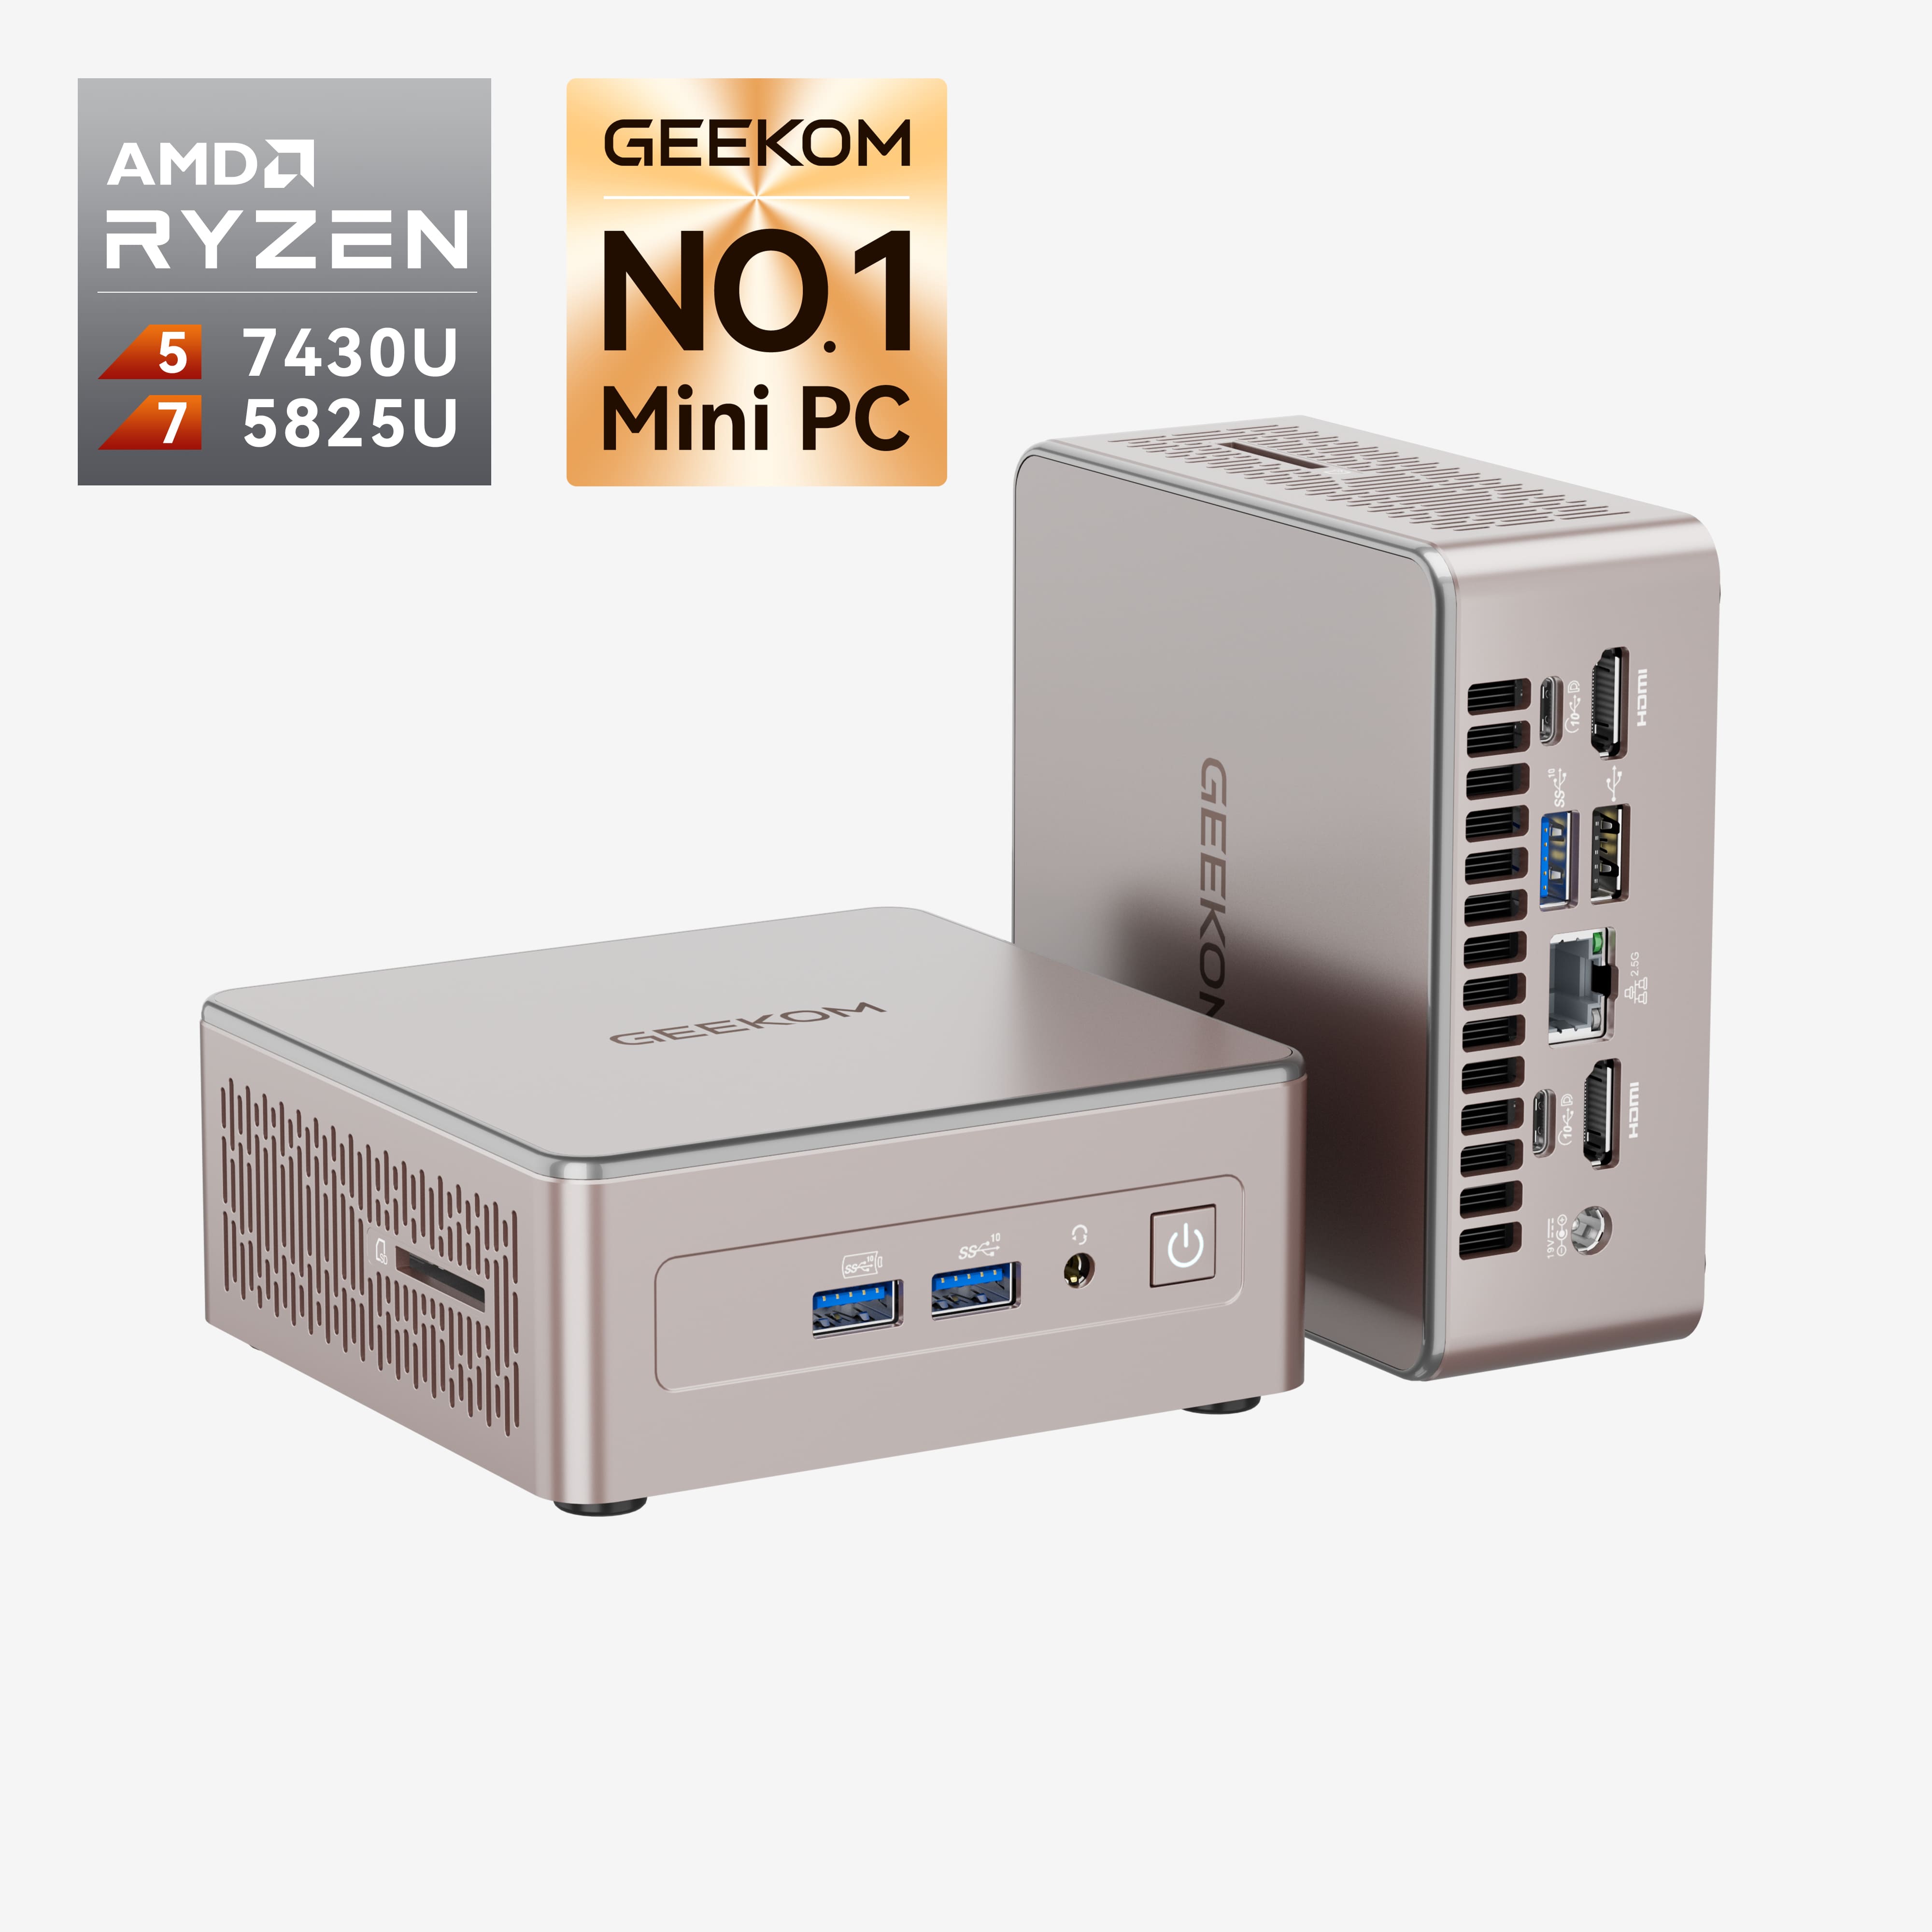
If you are looking for the best mini PC for pfSense, GEEKOM Mini IT13 should be your top priority. The compact structure, flexible storage solutions, and powerful hardware configurations of the mini PC make it ideal for the pfSense firewall system.
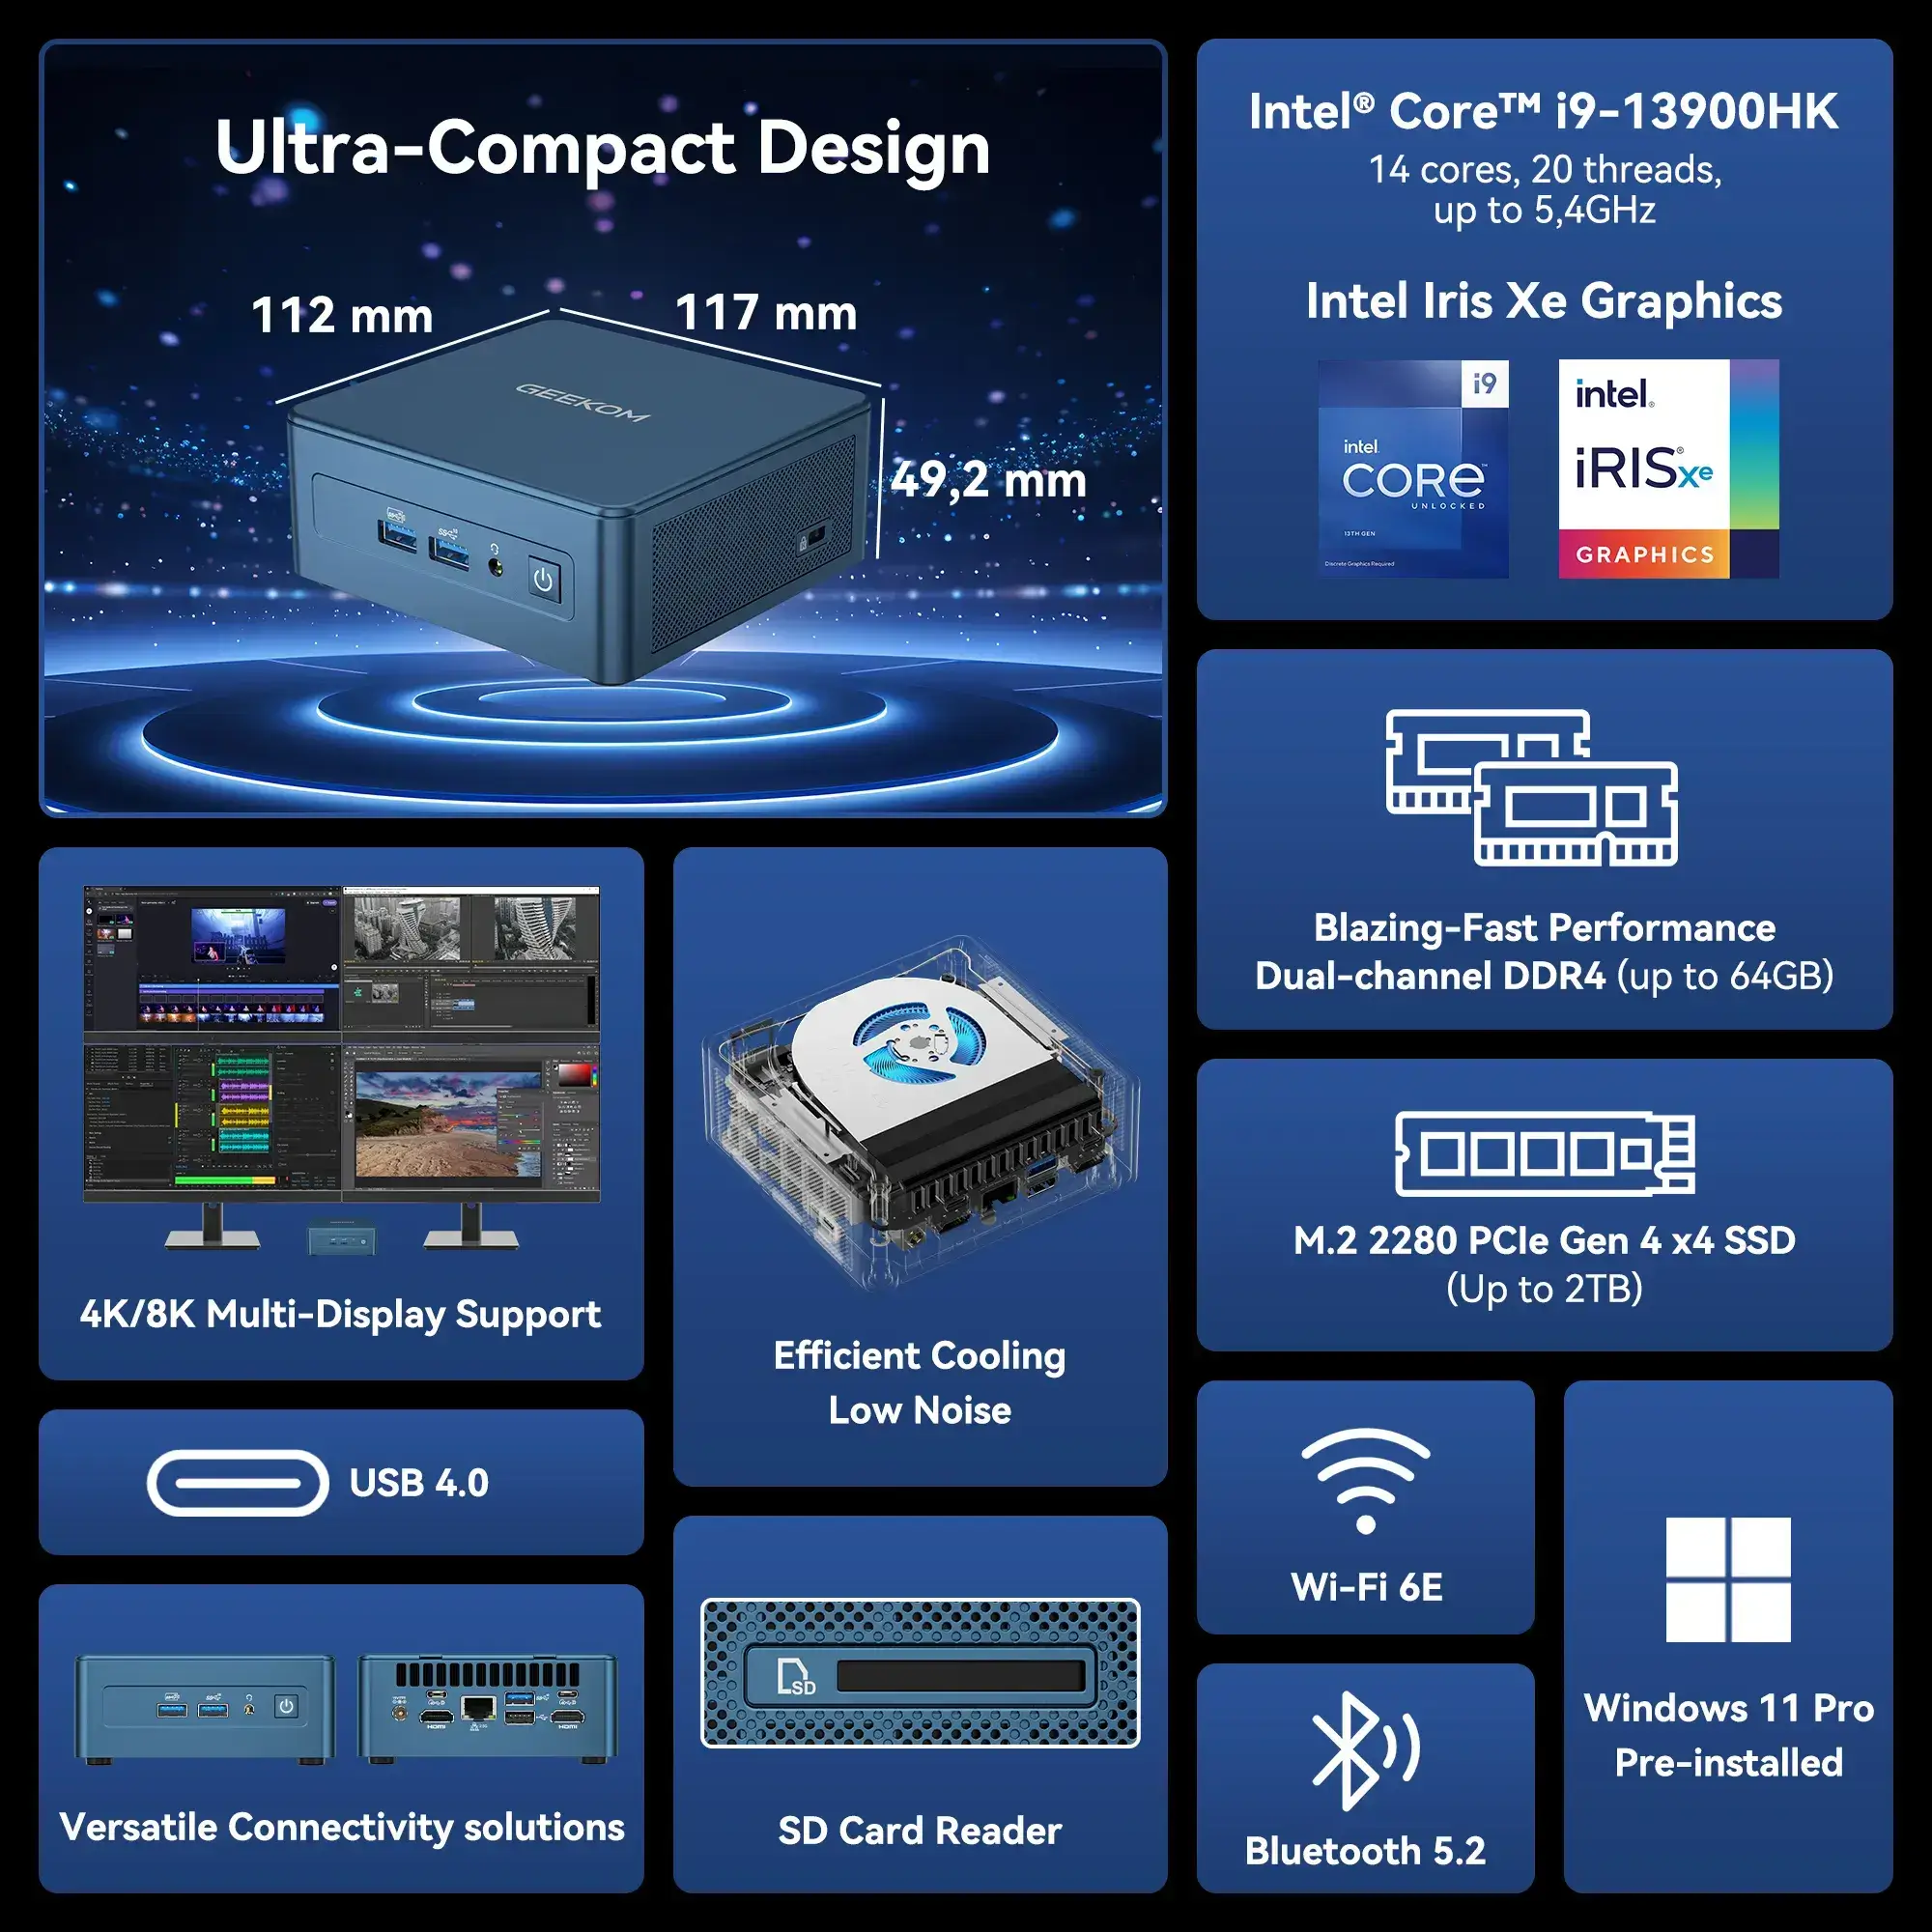
It functions using the top-notch 13th Gen Intel® Core™ i9-13900H processor. The maximum turbo frequency of the PC stretches up to 5.40 GHz alongside 20 threads and 14 cores. Additionally, the availability of a 24M smart cache makes it even more perfect for pfSense applications.
The pre-installed operating system on the mini PC is Windows 11 Pro. But you can easily replace it with the open-source router and firewall platform of pfSense.
Another fascinating thing about the GEEKOM Mini IT13 is its dimensions of 117 x 112 x 49.2mm. The petite measurements guarantee that you can easily set it up in small spaces and use it as a firewall device for personal and organizational networks.
How to Install pfSense on a Mini PC
Once you have chosen the best PC to run the pfSense application, you must begin the setup process. It’s not very difficult if you follow the correct steps. Here’s a detailed breakdown of how to set up pfSense on your mini PC:
Step 1: Download the pfSense ISO.
The initial move is to download the pfSense application from the official portal. Remember to download the latest version in the ISO file format.
Step 2: Make a Bootable USB
Now, it’s time to use the pfSense ISO file to make a bootable USB. For that, you can use tools like Rufus. Once you have created the USB, you can install the pfSense application on your mini PC.
Step 3: Configure BIOS Settings
You must change the booting order to enable it from the USB drive. To do so, you should boot into the BIOS of your mini-computer.
Step 4: Install pfSense
After the booting, you will notice installation prompts on your screen. Follow them to get pfSense on your mini PC. Choose the right storage drive and adjust the basic network settings.
Step 5: Configure the Network
Once you have installed pfSense, you must connect it to your mini computer. Type in the default IP address through your web browser. Now, you are free to adjust the LAN and WAN interfaces. You can also establish new firewall rules to enhance the security of your network.
Step 6: Optimise the Settings
After you have set up the basic configurations, you can test further and fine-tune the settings. Assess the specific needs of your network. After that, you can incorporate advanced features like intrusion detection systems, VPNs, and more.
Final Words
Deploying pfSense on a mini PC is ideal for anyone looking for a powerful and compact firewall solution. The combination of advanced security features of pfSense and the efficiency of mini PCs guarantees a high level of performance at affordable costs. Whether it’s about securing your home network or protecting the network of your small business, pfSense can offer the peace of mind you seek while protecting your digital assets.

Shivam Bhateja
Shivam Bhateja is a seasoned Computer Science Engineer with over 11 years of experience in the computer industry. He has held key technical positions, including Technical Head at EMIAC Technologies and Technical Lead at Menhood, where he led innovative projects and contributed to cutting-edge developments.


