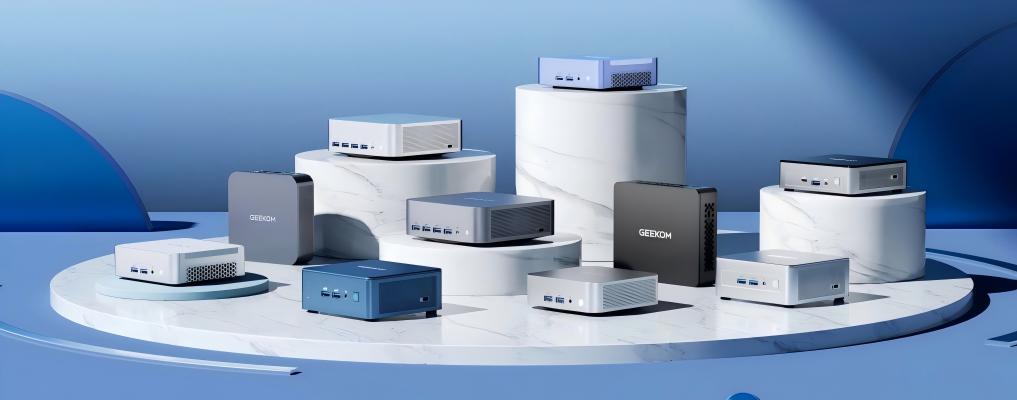
Mini PCs have become a popular choice for their compact size and versatility.
But what if you crave more graphical power?
Can you add an external GPU to a mini PC?
Yes, it is possible to add a GPU (Graphics Processing Unit) to some mini PCs, but it depends on the specific model and its hardware capabilities.
Can All Mini PCs Support GPU Installation?
The idea of upgrading your small desktop PC with an external GPU is certainly appealing, but not all mini PCs are equally equipped to support GPU installations.
1. Form Factor and Size:
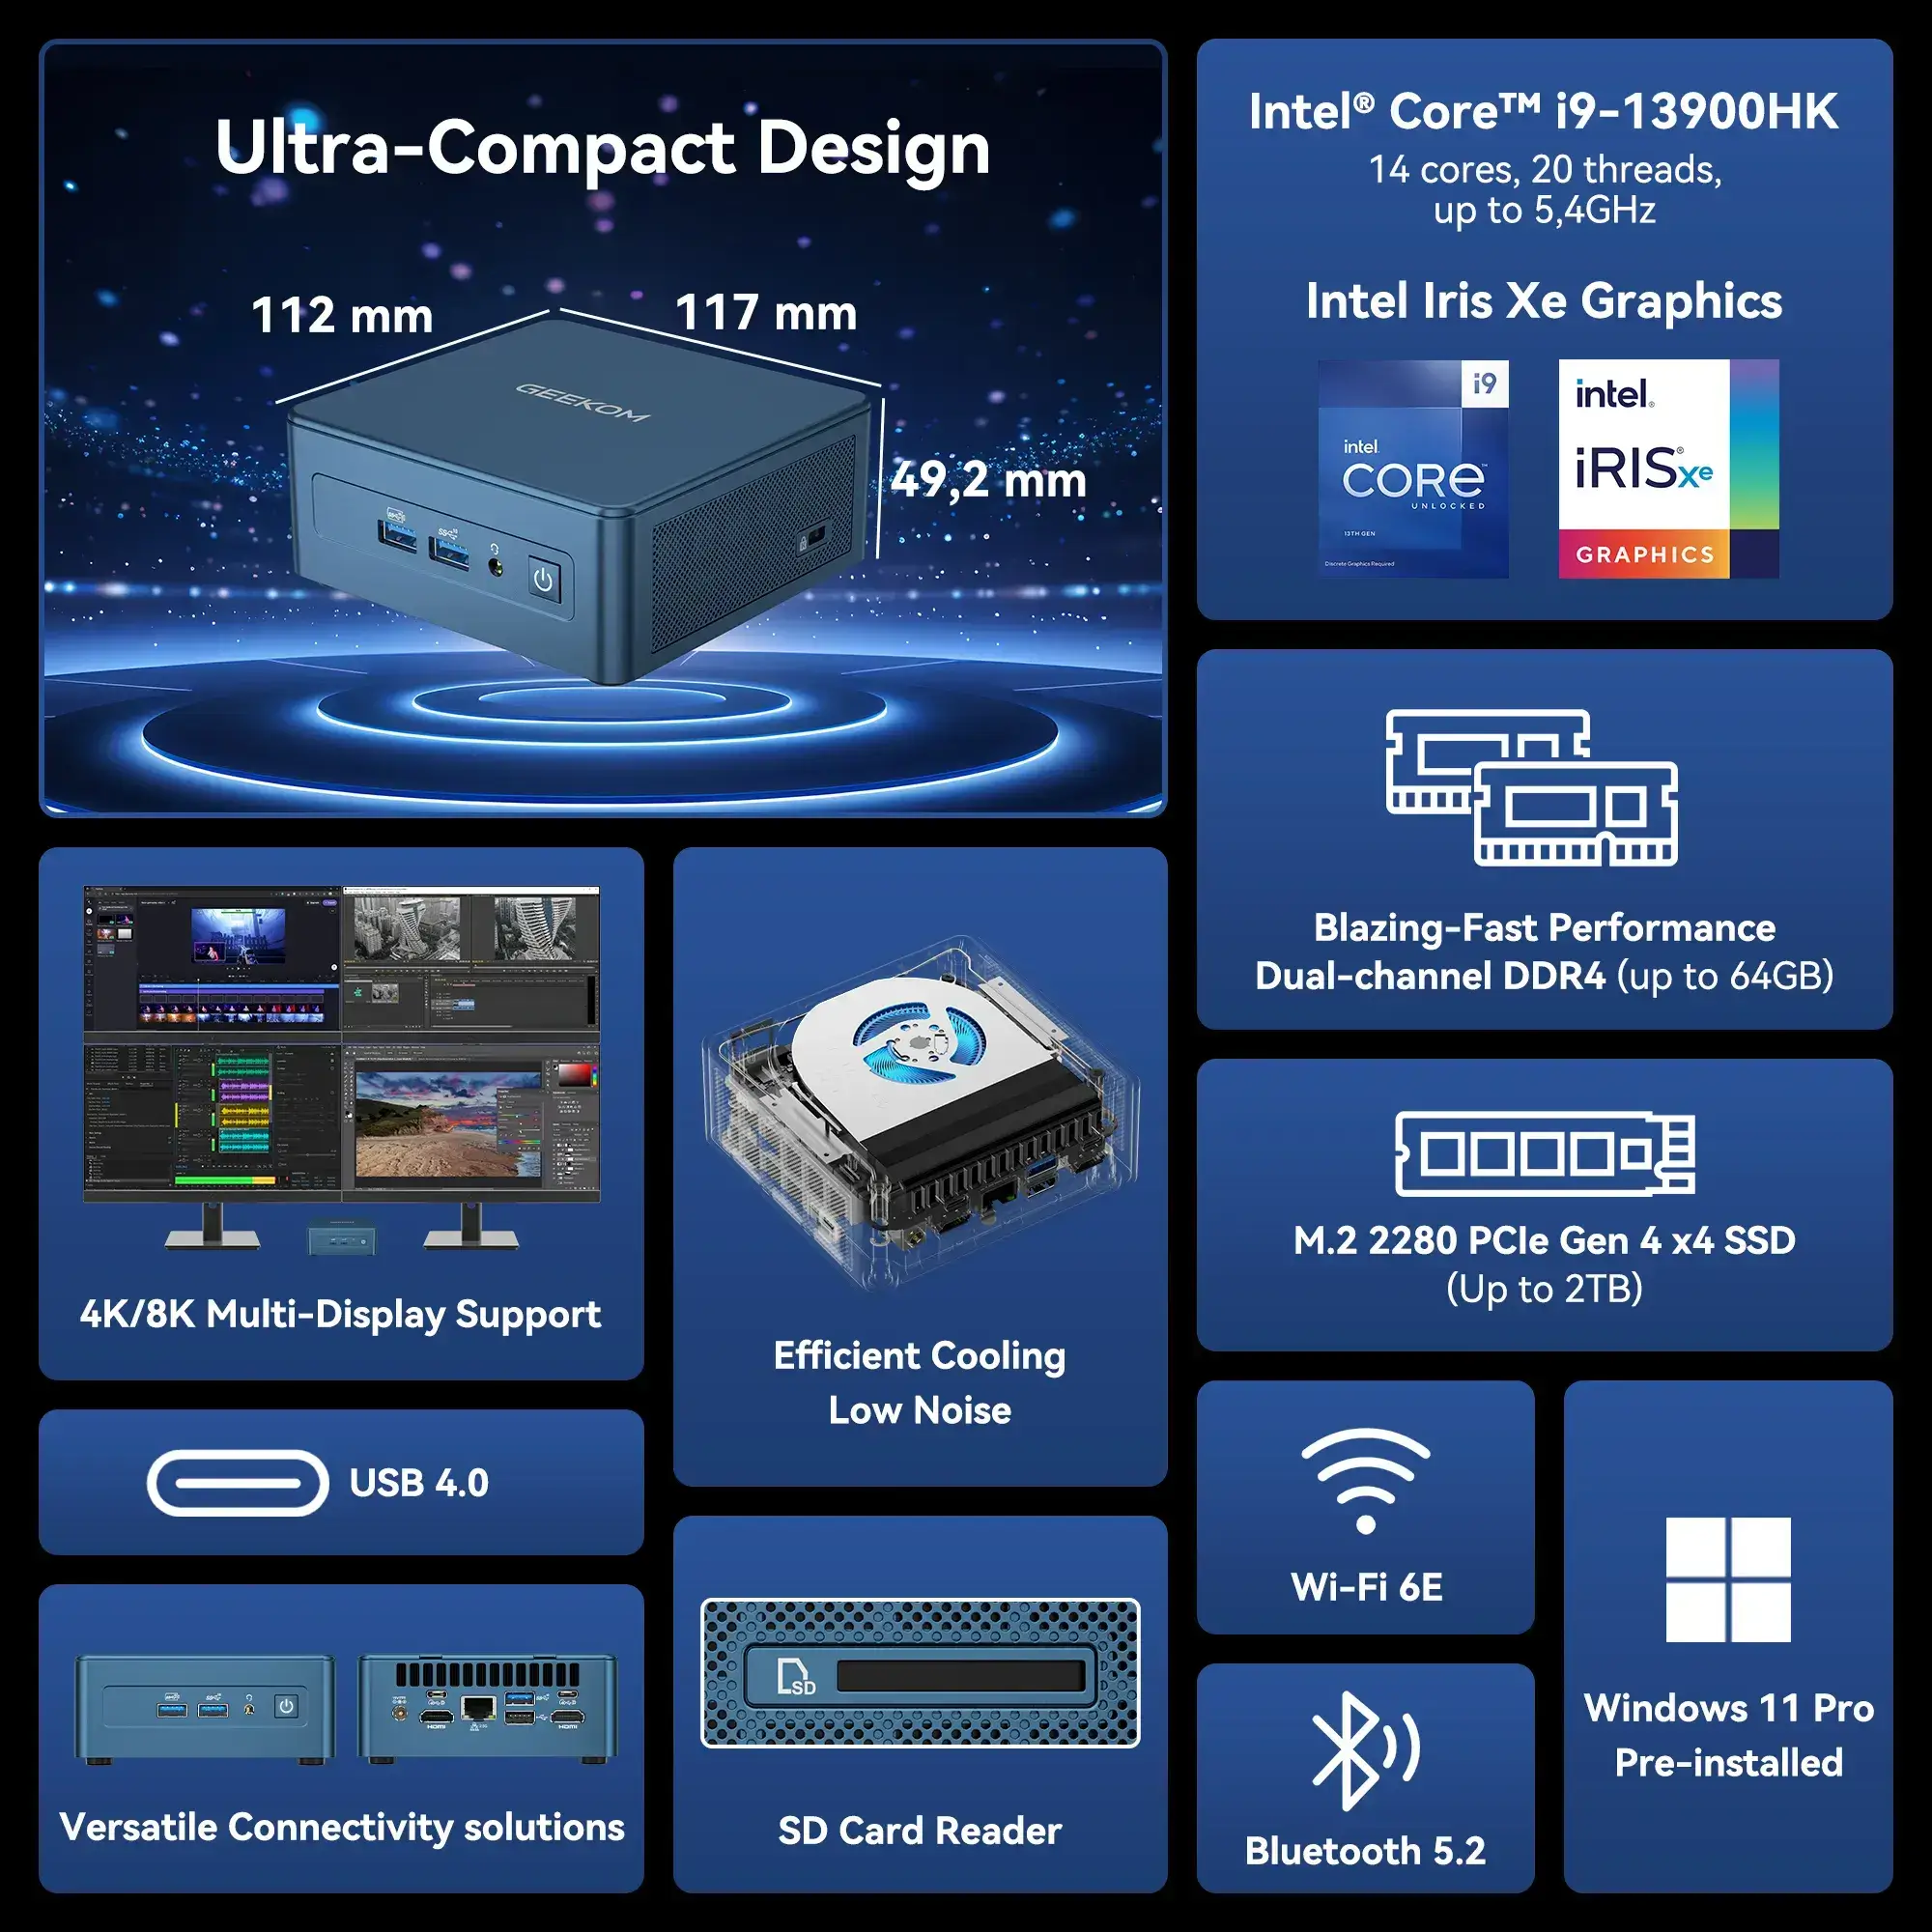
The physical size of your Mini PC plays a vital role in determining whether there is enough space to install a GPU. Small form factor PCs might have limitations in terms of physical space for a GPU, unless the one you choose already has the integrated GPU.
2. Power Supply Constraints:
GPUs demand power, and not all Mini PCs are equipped with a power supply sufficient to support a dedicated graphics card. Check the power specifications of both your Mini PC and the intended GPU to ensure compatibility.
3. Available PCIe Slots:
Mini PCs with limited or no available PCIe slots might pose a challenge for GPU installation. Verify the number and type of PCIe slots your Mini PC has before considering a GPU upgrade.
4. BIOS and Compatibility:
The BIOS (Basic Input/Output System) of your Mini PC plays a critical role in recognizing and supporting additional hardware like a GPU. Some Mini PCs may not have the necessary BIOS options to enable GPU functionality, making them incompatible with this upgrade.
5. Thermal Considerations:
Compact Mini PCs may struggle with heat dissipation, potentially leading to thermal issues when integrating a GPU. Ensure your Mini PC has sufficient cooling mechanisms in place.
The Benefits of Adding a GPU to Your Mini PC
If you have a laptop, NUC, or any PC without a dedicated graphics card or PCIe port, you can enhance your system’s performance for tasks like video editing by connecting a desktop-class GPU through an external graphics card enclosure. Simply install the graphics card in the enclosure and connect it to your PC via a Thunderbolt port.
External GPU enclosures are straightforward devices, typically consisting of an empty box that houses a power supply unit and a few other essential components. These enclosures enable the use of external GPUs, unlocking greater graphics performance for your PC.
1. Elevated Gaming Experience:
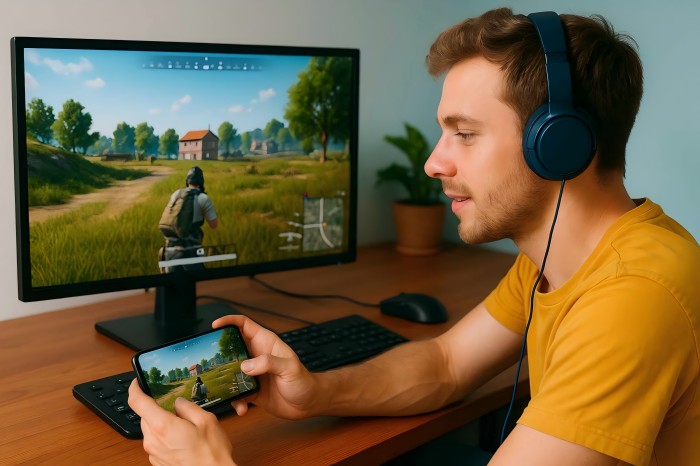
Adding a dedicated GPU ensures you can play the latest titles with stunning visuals and smooth frame rates, turning your Mini PC into a gaming powerhouse.
2. Optimized Content Creation:
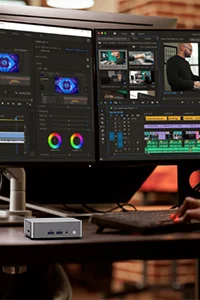
For content creators working with graphics-intensive applications like Adobe Creative Cloud or 3D modeling software, a dedicated GPU accelerates rendering times and improves overall workflow efficiency.
3. Enhanced Video Playback:
Watching high-definition videos or streaming content in 4K can strain integrated graphics. A GPU takes the load off the CPU, providing a seamless and buffer-free viewing experience.
4. Parallel Processing Power:
Tasks that require parallel processing, such as cryptocurrency mining or complex simulations, benefit significantly from a dedicated GPU. The parallel architecture of GPUs allows for faster and more efficient execution of these tasks.
5. Virtual Reality (VR) Compatibility:
Virtual Reality applications demand substantial graphical power. By integrating a GPU, your Mini PC becomes VR-ready, unlocking a new dimension of immersive experiences for gaming or professional applications.
Learn more: Best Mini PCs for VR Gaming
Steps to Add a GPU to a Mini PC
Let’s walk through the comprehensive steps to successfully integrate a GPU into your Mini PC, ensuring a seamless and efficient upgrade process.
1. Research Your Mini PC Model:
Before diving into the hardware installation, thoroughly research your Mini PC model. Understand its specifications, available expansion slots, power supply capacity, and any specific guidelines provided by the manufacturer regarding GPU compatibility.
2. Choose a Compatible GPU:
Selecting the right mini PC graphics card is crucial. Consider factors such as size, power requirements, and performance based on your intended use. Ensure the GPU’s physical dimensions fit within the mini PC’s available space, and its power demands align with the mini PC’s power supply capabilities.
3. Prepare the Workspace:
Set up a clean and well-lit workspace. Gather necessary tools, including a screwdriver, antistatic wrist strap, and any additional components required for the installation. Ensure proper grounding to prevent electrostatic discharge that could damage sensitive components.
4. Power Off and Disconnect:
Power off your Mini PC and disconnect all cables. This includes the power cable, peripherals, and any other connected devices. Taking these precautions ensures a safe environment for the installation process.
5. Locate PCIe Slot:
Identify the PCIe slot on your Mini PC’s motherboard where the GPU will be installed. Most GPUs use PCIe x16 slots, but the specific slot type may vary. Consult your Mini PC’s documentation for the exact location and type of the PCIe slot.
6. Remove Slot Covers:
If your Mini PC has slot covers or brackets covering the PCIe slot, carefully remove them to create an opening for the GPU. These covers are typically secured with screws and may vary in design based on the Mini PC model.
7. Install the GPU:
Gently insert the GPU into the designated PCIe slot, ensuring it aligns with the slot and the bracket lines up with the case opening. Apply even pressure until the GPU is securely seated. Secure the GPU in place by tightening the screws on the bracket.
8. Connect Power Cables:
Some GPUs require additional power connectors. Attach the necessary power cables from the power supply to the GPU. Ensure a secure connection to provide the required power for optimal performance.
9. Secure the Mini PC Case:
Once the GPU is installed directly and connected, carefully close the Mini PC case. Ensure that all screws are tightened to maintain the structural integrity of the case and provide proper airflow for cooling.
10. Reconnect and Power On:
Reconnect all cables, peripherals, and devices—power on your Mini PC and monitor. The system should detect the new GPU. Install the necessary GPU drivers from the manufacturer’s website for optimal functionality.
11. Check for Compatibility and Updates:
Verify that the installed GPU is recognized by the system. Check for any BIOS updates or firmware updates for both the Mini PC and the GPU. Keeping software up-to-date ensures compatibility and addresses potential performance or stability issues.
12. Benchmark and Test:
Run benchmark tests and perform real-world tasks to gauge the performance improvements brought by the added GPU. This step helps ensure that the integration was successful and allows you to assess the impact on your specific use cases.
Can You Add a GPU to a Mini PC? Yes, You Can!
Adding a GPU to your mini PC isn’t just a possibility, it’s a game-changer.
Experience a significant performance boost, whether you’re into gaming, content creation, or demanding software applications.
The once modest mini PC now stands toe-to-toe with its larger counterparts.
If you’re looking to unleash the full potential of your mini PC with the addition of a powerful GPU, consider exploring the selection at GEEKOM.
Browse through our range of mini PCs designed to support GPU installation, providing you with the flexibility to enhance graphics performance for gaming, content creation, and more.


